Tuesday, February 26, 2013

A Hair Raising Experience

Good Evening Everyone!

I have been working on a project that I'm excited to share.  I was inspired by Kaz at The Little Shabby Shed. Check out her blog here.  Kaz blew me away with her piece for the Ranger Challenge at the winter CHA show.  You can see it here on her blog.  Or here on the Ranger blog.  I absolutely adore her piece!  Kaz inspires me every time I visit her blog.

The stamp used for the face is one that I have wanted for some time.  I finally added it to my stash of stamps.  It is the Stampers Anonymous Tim Holtz Classics # 5 set.

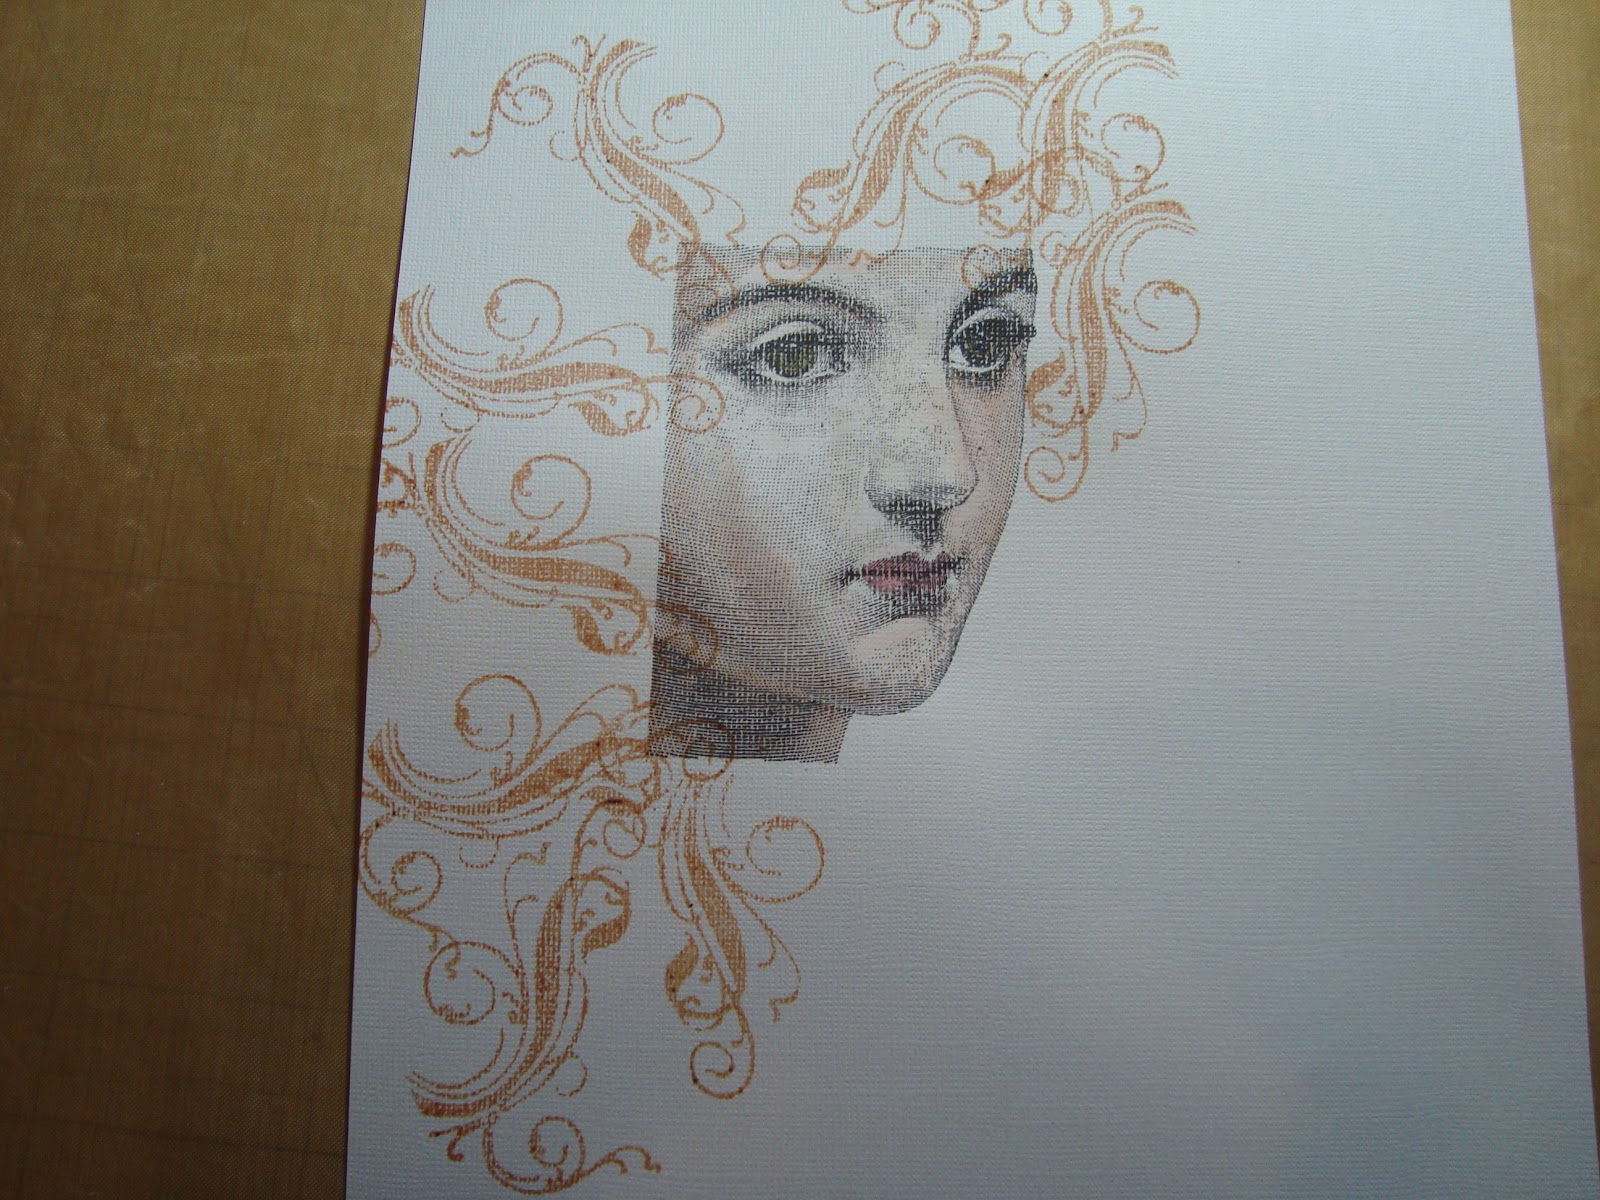
I wanted to put my own twist on the hair for this piece.  I stamped that lovely face and set out to experiment.  I had a fun couple of days playing with hot glue, tissue paper, stamps, inks, and paints.  I wanted something with dimension but yikes, all the hot glue hair just looked like a hot mess.  I decided stamping the hair was the way to go, but what stamp do I have that looks like hair?  Ah ha!  Tim Holtz flourishes are swirly and curly and might just work.

Here is a sample of my testing with the flourish stamps.


I started with a 12 x 12 sheet of core'dinations textured cardstock in white cut down to 9 x 12.  I like the canvas texture on this cardstock and thought it would add to the artistic quality.  I stamped the face and colored with distress inks - some tattered rose for the skin, peeled paint for her eyes and some worn lipstick for her lips.


The first layer of "hair" was stamped with Tea Dye Distress Ink.


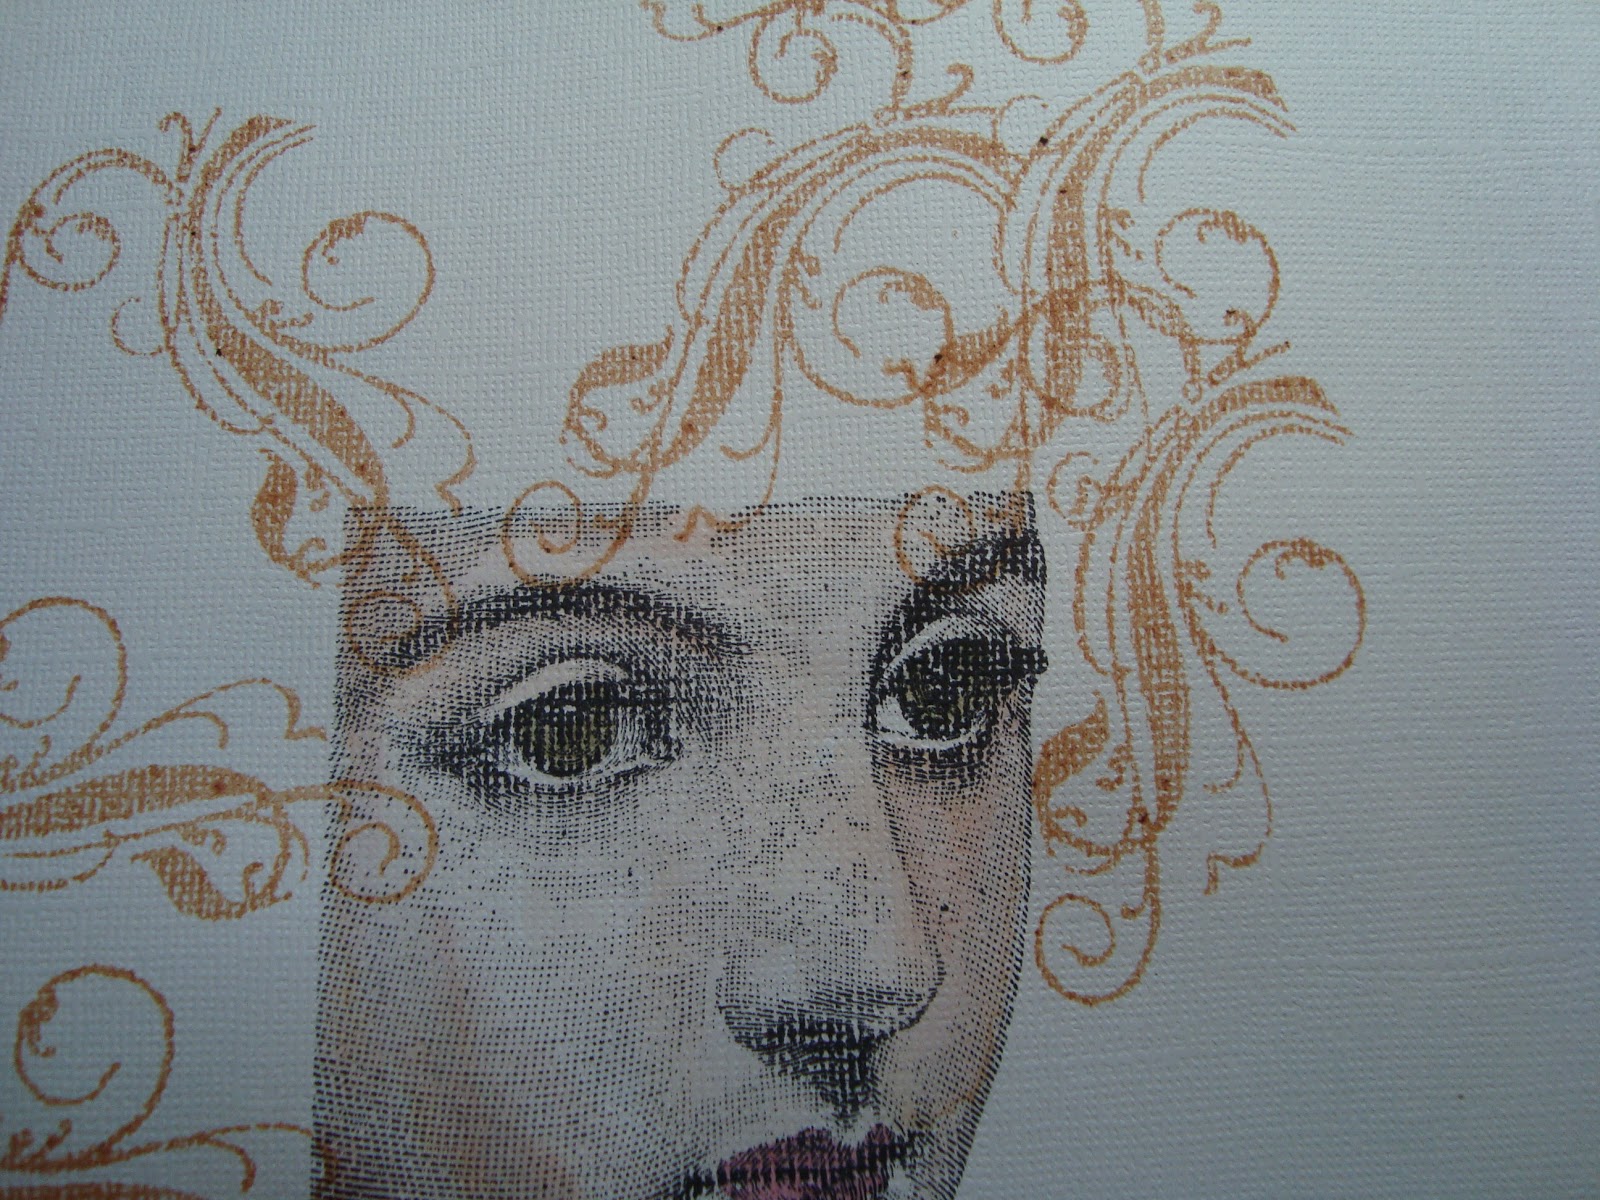
The second layer was stamped with Vintage Photo distress ink.  Starting to look like hair now.


The third layer I switched the flourish stamp and stamped with Walnut Stain Distress Ink.


Here you can see the three stamps I used to create the face and the hair.


I'm getting excited at this point because it is coming out better than I hoped!  I used some Tea Dye Distress Ink with a blending tool to fill in the area close to the head.

Next came the embellishing.  Using the Sizzix Tim Holtz Tattered Floral Garland I cut out a bunch of flowers from the Rondelle Collection by Prima.  Pretty, pretty papers with pinks, roses, and greens.


Using the Ornamental Sizzix die and the Alpabetical letters die I created a title.  More of the Rondelle paper to create a background for the title sign.  I like how the swirls on the paper match the swirls in her hair.  I used a Kaisercraft scissor stamp inked up with Tarnished Brass Distress stain as an accent.


Here is my lady and her hair in all its glory.  These photos don't do it justice.  Sorry they are not better but I finished this last night and was so excited to share that I took photos using the lights in my room.  I'm going to get some daylight photos this weekend and will post them later.


So, are you wondering about the title?  Snip Snip?  This was a piece I created for my hair stylist.  Shout out to all the ladies at the Snip Snip salon in Chico, CA!

It was quite the experience to create some hair.  Happy and excited with the results.  Can't wait to try some more versions.

Thanks Kaz for the inspiration!  Thanks to Tim, Ranger, and Sizzix for all the wonderful products that make this kind of fun possible.

Thanks for stopping by.  Would love to know what you think of my lady.  Hope you get some creative time in.

Hugs,  Sharon


Tuesday, February 19, 2013

Little Red Truck-Happy Birthday Al!

Good Evening!

hope you had a lovely Tuesday.  First let me give you all a big thank you for all your comments and looking at my blog.  It means the world to me that you are enjoying what I'm doing.

I wanted to share a birthday card I made for my father-in-law Al.  His birthday was yesterday.  Happy Birthday Alby!

Al has this little red truck that is his run around town vehicle.  He loves that truck.  Here is my version.  A classic truck for a classic guy.


I modified the Sizzix Tim Holtz Old Jalopy die into a truck.  Chromed up the bumpers, hubs, and trim with dry embossed foil tape.


Background is Distress Ink and Distress embossing powder.  Sentiment ticket is distress inked and stamped with black archival.  Buttons from my stash were added.


Little brads that look like screws were added at the bottom.  So stinkin' cute!  You can really see the texture of the papers, foil, and distress embossing here.


Inside is a strip of the same paper die cut and a happy birthday sentiment.  I made this card extra big by folding 8 1/2 x 11 black card stock in half.  Wanted plenty of room for everyone to sign.  I mailed it in a 6 x 9 envelope.

Al loved his card.  So fun to make something special for someone you love!

Materials used:

Sizzix Tim Holtz dies:  Old Jalopy, Styled Labels, Harlequin Border
Distress Inks:  Tumbled Glass, Broken China, Faded Jeans, Peeled Paint, Wild Honey, Black Soot, Black Archival
Distress Embossing Powders:  Vintage Photo, Walnut Stain
Black and White Cardstock; Patterned paper from K & Co
Stamps:  Stampers Anonymous and Hero Arts
Embellishments:  brads from Michaels, buttons from my stash

I have another birthday card to share but that will have to wait a few more days until the actual big day arrives to share.

Thank You so much for stopping by.  Take time to get creative!

Hugs,  Sharon


Friday, February 15, 2013

Tim Holtz 12 Tags of 2013 February

Happy Friday!

Looking forward to the three day weekend and lots of crafty time.   Hope you all have some creative time too.

Last night I had a great time getting inky with my version of Tim Holtz February tag.


I used Worn Lipstick and Barn Door Distress Inks and achieved a lighter more feminine look.


The Queen, Heart and 14 from the Mini Blueprints 2 stamp set were used to create the focal images.  I followed the same layering technique Tim used on his tag.


Some dark accents were added with the XOXO at the top and a dry embossed and torn piece at the bottom.


I created the flowers with the Tattered Flower Garland in the same Worn Lipstick/Barn Door colors and a charm using a fragment.  As with Tim's tag I finished mine off with a tissue tape "ribbon".  Now that is a cool affect and will be using that again.


I enjoy the monthly challenge of the 12 Tags.  It helps me to keep learning.  Hope you have enjoyed my version.

I missed creating the January tag.  Seriously, where did January go and how did it get to be February 15th?  My plan is to create the January tag in the near future.  

More posts this weekend as I have a couple of birthdays coming and have created some fun cards that I want to share.

Thanks for stopping by.  I love to get your comments so please feel free to share.  Take time to get creative!

Hugs,  Sharon